World War One Airfield Picture Frame Project
I received a phone call from a local farmer who had volunteered to help the local parish council with a project to gain recognition of an old airfield site on farmland belonging to the Prideaux-Brune estate in Padstow dating back to World war one and he asked me if I would make a solid picture frame for him
He had a series of six photographs taken from an old book which he had enlarged and wanted them to be framed and placed alongside a memorial plaque that was already in place on the old site so that people were reminded of its long forgotten history
I made a visit to his farmhouse where we discussed the project and I made several suggestions on the timber which should be used and which glue and glass I recommended
The site is facing the sea at Crugmeer near Padstow and the old buildings that still remain there are where the new picture frame is to be mounted along with the plaque to commemorate the site – his thoughts were that a plaque alone did not do the site justice as if you look around all you see is fields and farmland hence his idea of the pictures to give people a sense of reality
The elements were going to be my biggest challenge here to ensure that this project would last in these conditions
So I decided that I would use the very best materials and went for Accoya wood for the frame, Marine plywood for the backing board, 6.4mm laminated glass, waterproof glue and stainless steel fasteners
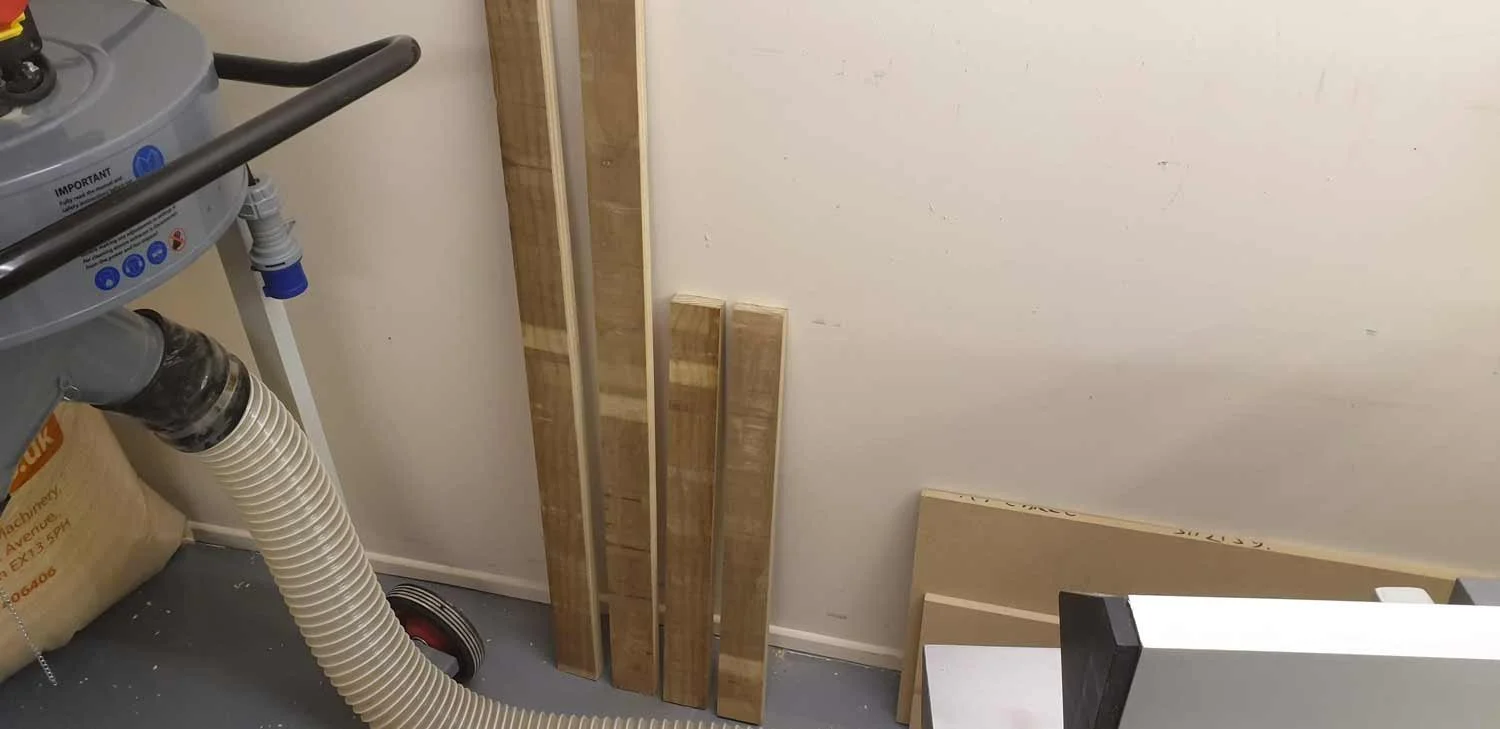
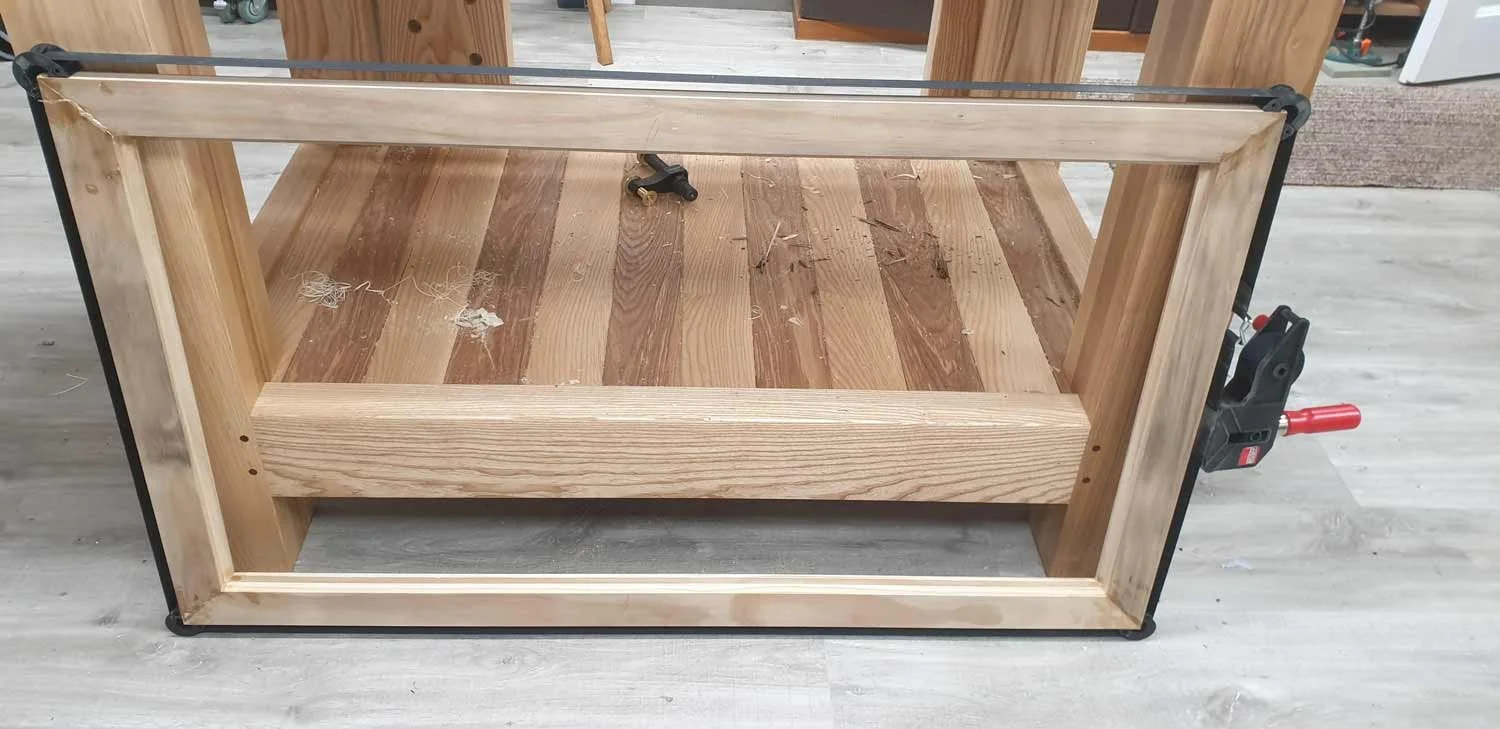
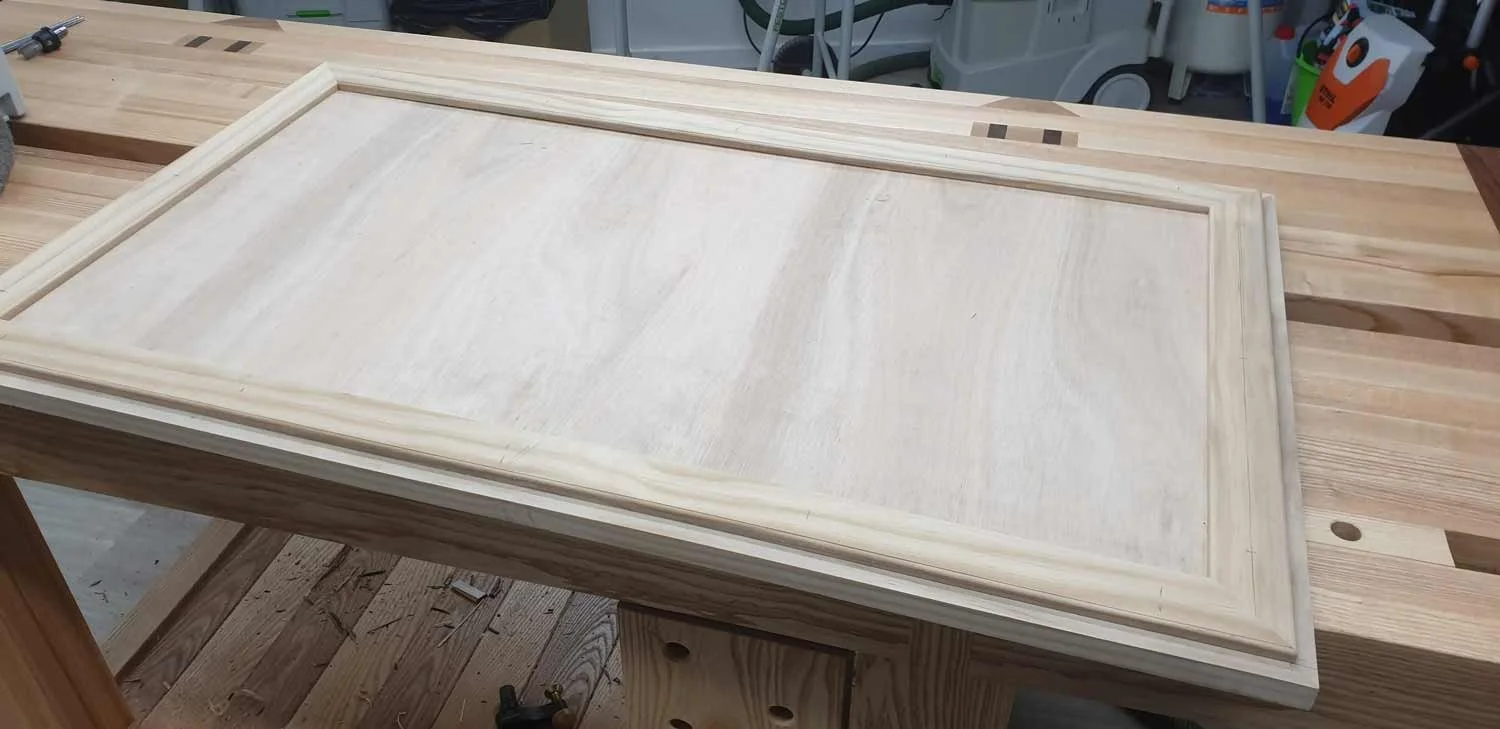
First I selected the timber from the wood store and then cut them on the bandsaw to the sizes that I wanted and put each component through the planer to make them smooth and dimensioned to the right size and then cut a rebate into each one using the router table and cutter and finally cut all the mitres to give me the frame size I wanted

Wood selected
Cut to size
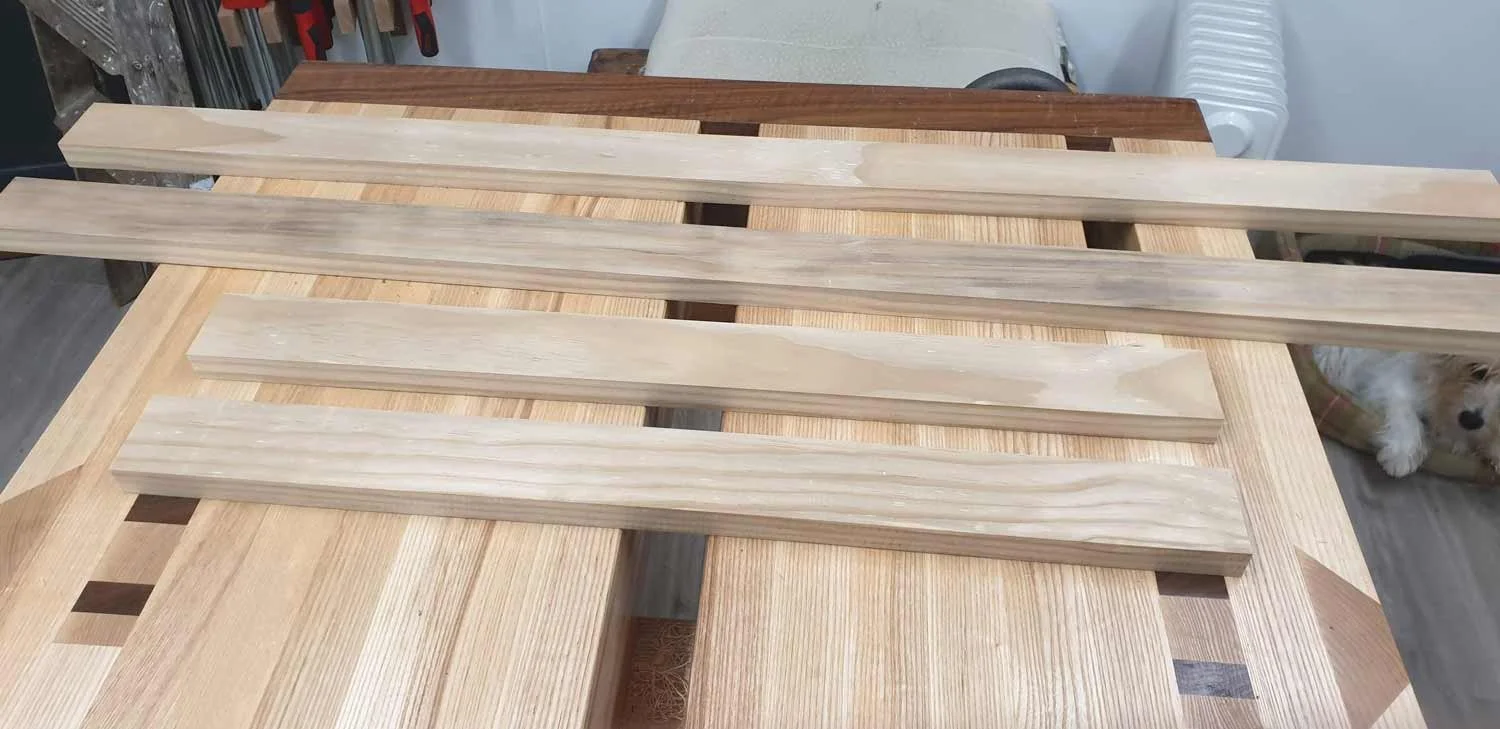
Machined
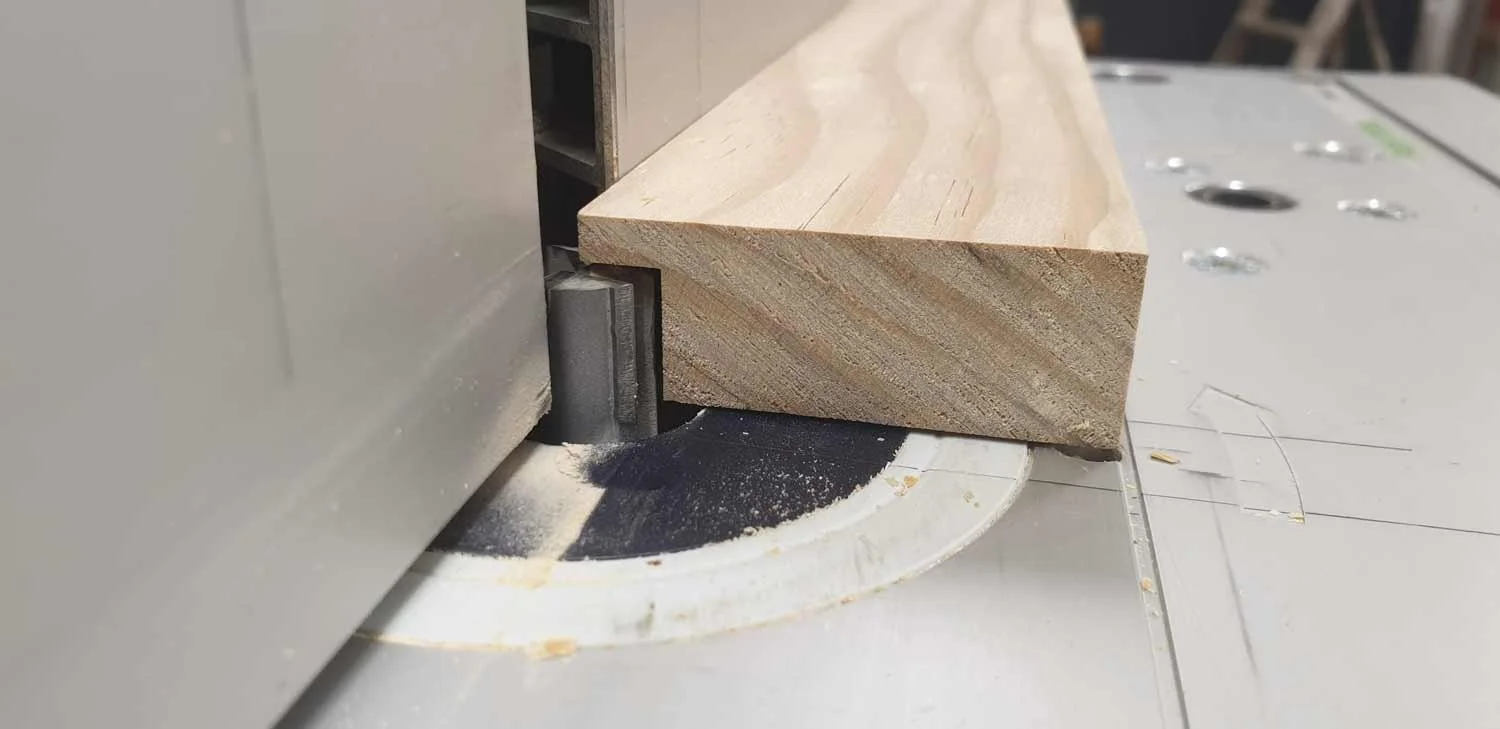
Rebates cut
I glued the frame together using Polyurethane glue and used the beautiful Bessey band clamp to hold everything in place whilst the glue dried overnight then after a quick sanding to remove the excess glue and planer marks I decided to fit some corner brackets to support the corners of the frame for extra strength given the weight of the glass, I marked around them on each corner and let them into the frame in a small recess using the router and chisels so that they were flush with the surface and then screwed them into place
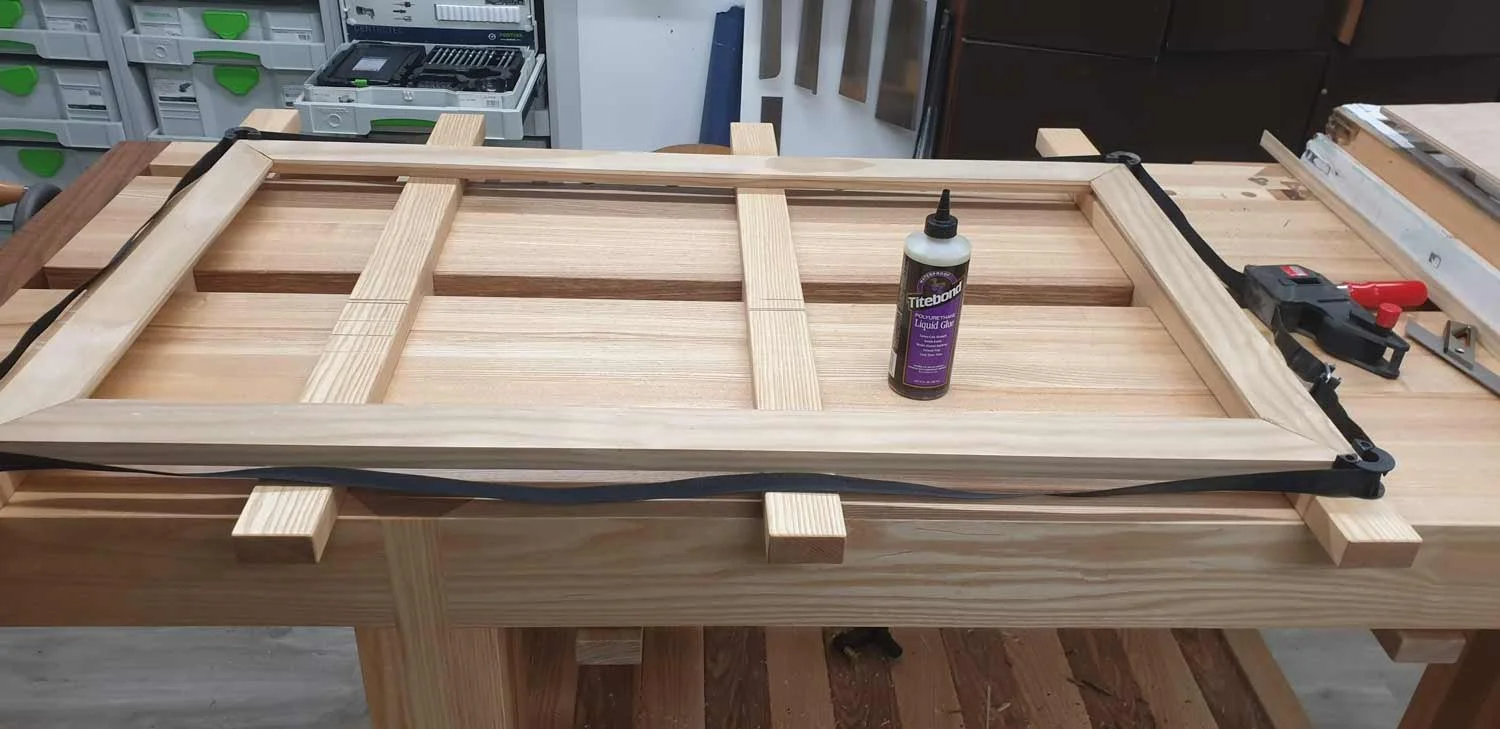
Glued
Clamped
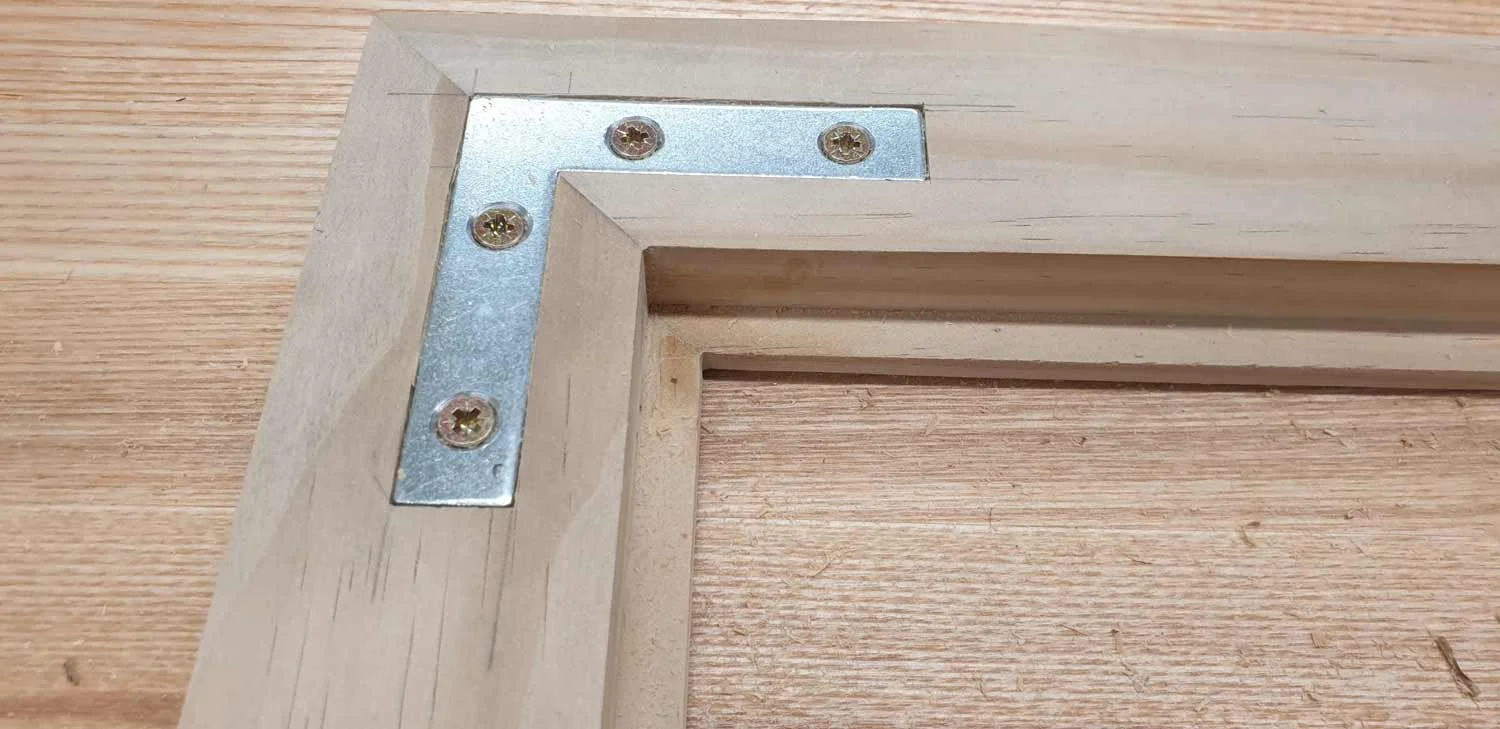
Corner supports fitted
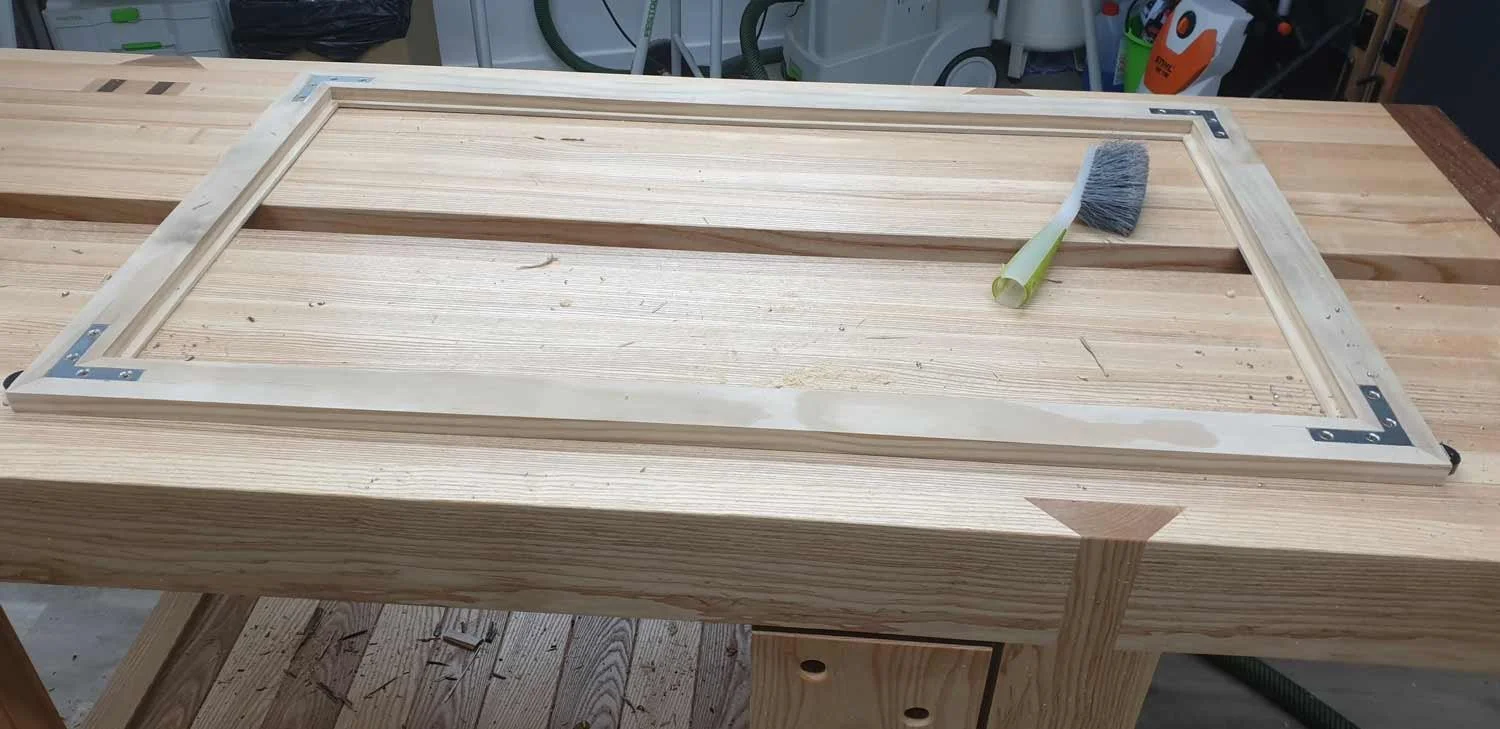
I then ordered the glass to the correct size and cut the marine plywood backing board to size and painted this with two coats on one side only with black chalkboard paint so that the pictures would have a good background once in the frame
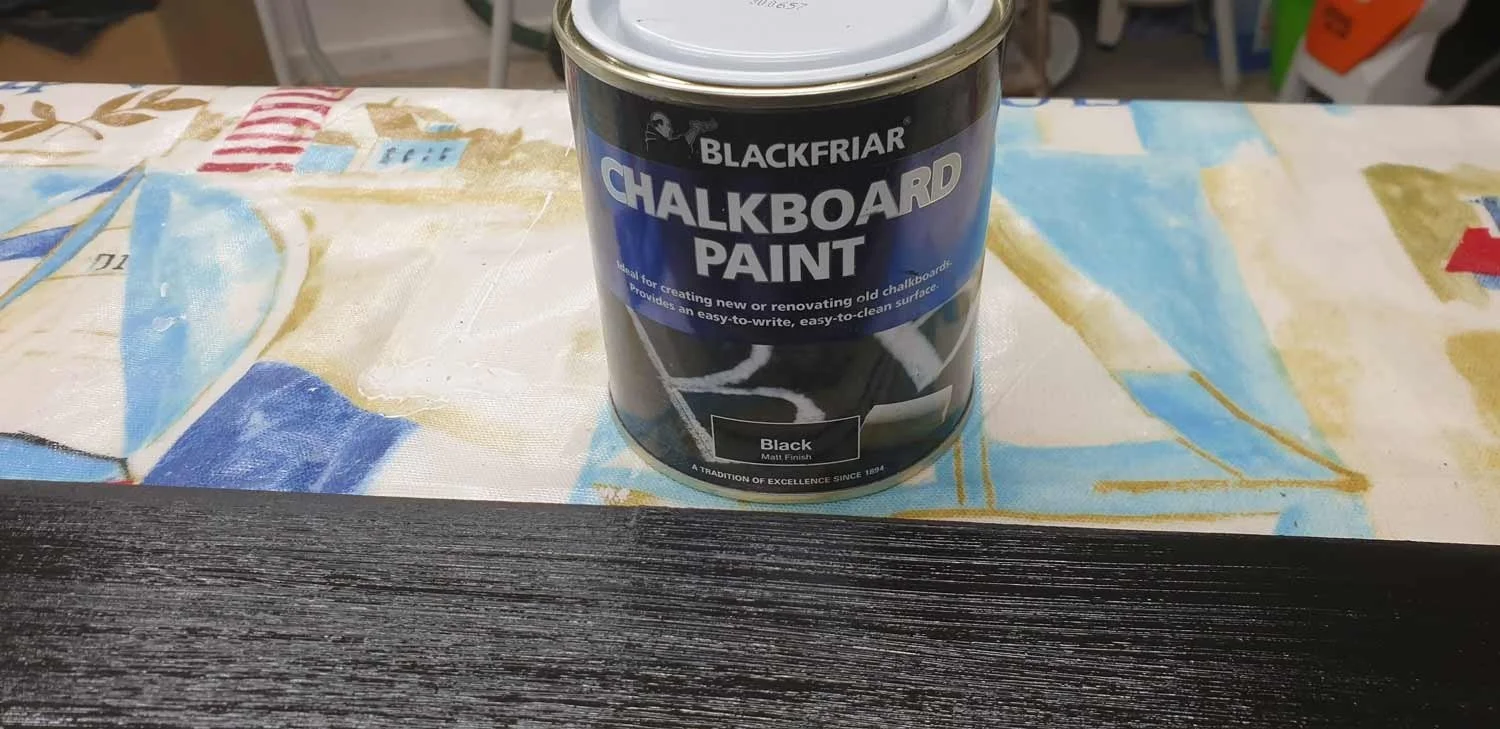
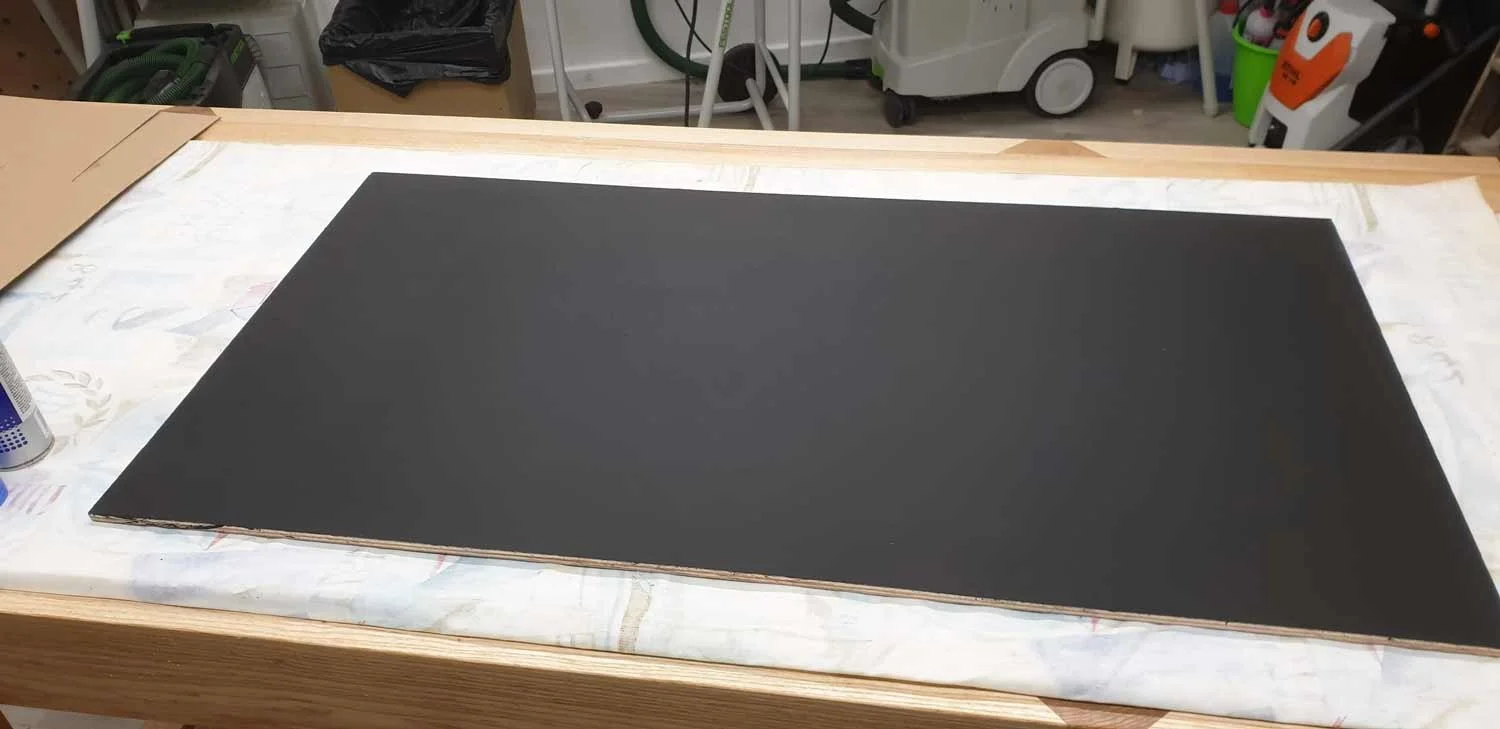
Backing board painted
I carefully applied a spray mount glue to the back of the pictures and the small detailed write up about each picture and spaced them all out evenly and then stuck them into place onto the backing board
A bead of sealant was applied into the frames rebate then the glass was put into the frame – this would seal the glass on the face side, the backing board complete with pictures was then fitted into the frame
I also machined some cover strips of Accoya for the back of the frame to cover the corner plates and provide a good seal on the back of the frame once everything was in place within the frame, these were screwed into place with stainless steel screws after a bead of sealant was applied between these strips and the frame/backing board – this would seal the frame on the back side
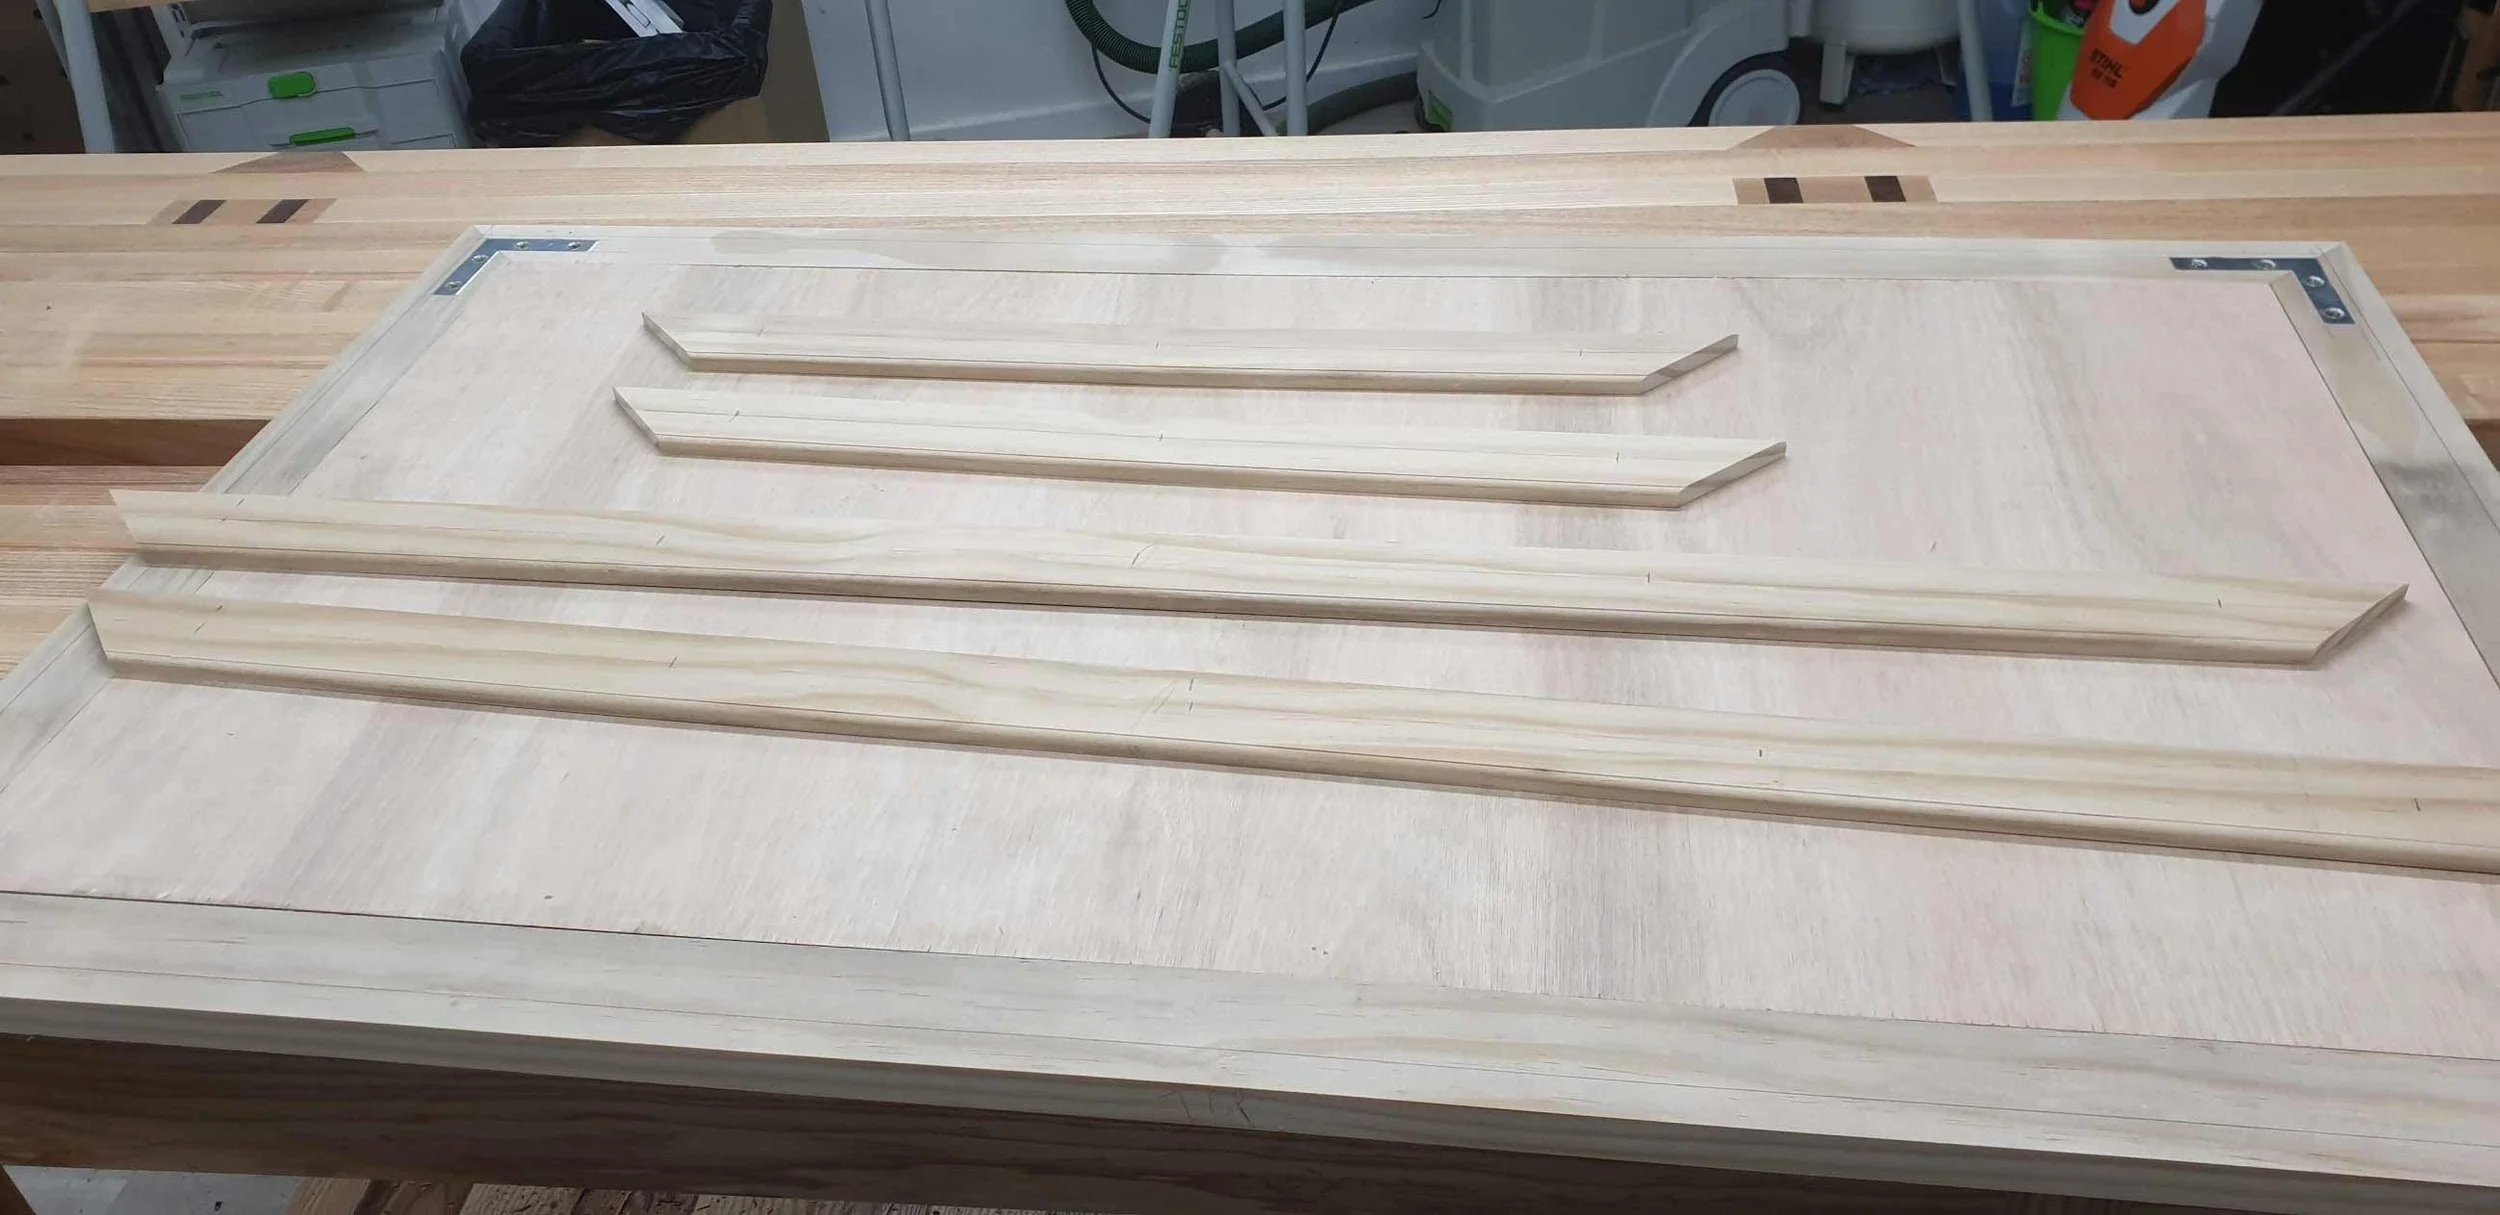
Backing strips machined
To avoid any future maintenance the wood was left in its natural unfinished state so it will age gracefully and eventually turn a nice silver grey so should look very good in its surroundings
Everything had a final wipe over and then it was ready to fit on site
I met the farmer and we fitted it in place using plugs drilled into the wall and secured with screws
Its really nice to be asked to participate with projects like these which mark points in history for others to observe and without the voluntary actions of the farmer no one would ever know or even think that this site was once used as an airfield and I feel very lucky to be asked to complete this work for him
The final picture that is in the video shows a break in the hedge looking towards Trevose head – whilst on the site with the farmer he explained to me that this section of hedge had been removed and this is where the runway was at that time so planes took off into the prevailing winds and a further section of hedge had been removed behind where I took the picture in case they overshot the mark in bad winds when landing and this meant that they would have an extra 100 yards if needed to stop before the road !